

A beautiful DIY wedding idea to display photos of the bride and groom at their reception, which doubles as a unique gift for the newly-weds.
I wanted to come up with a DIY wedding idea for a gift when my brother married his lovely lady (known in our house as Auntie Pretty) this Summer. Through Pinterest, I discovered that Auntie Pretty liked this Pin, but did not have time to make anything similar what with all the wedmin….
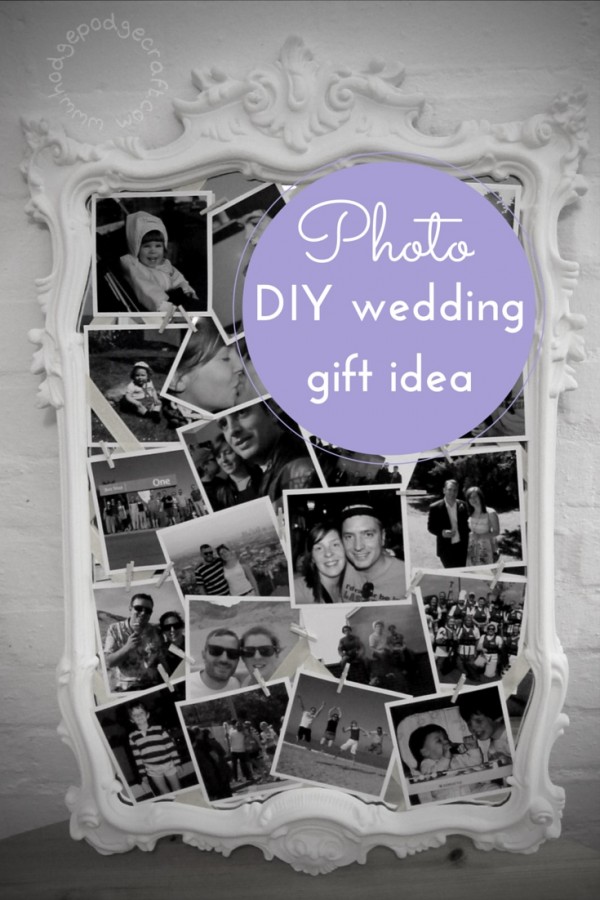
I thought this DIY wedding idea would be a great way to share photos of the couple (and their friends) at the reception, serving as a talking point/ice-breaker, which they could take home afterwards as a gift.
To make this DIY wedding idea, you will need:
- an ornate framed mirror (this one is moulded plastic and my mum found it in a thrift shop in Broadstairs)
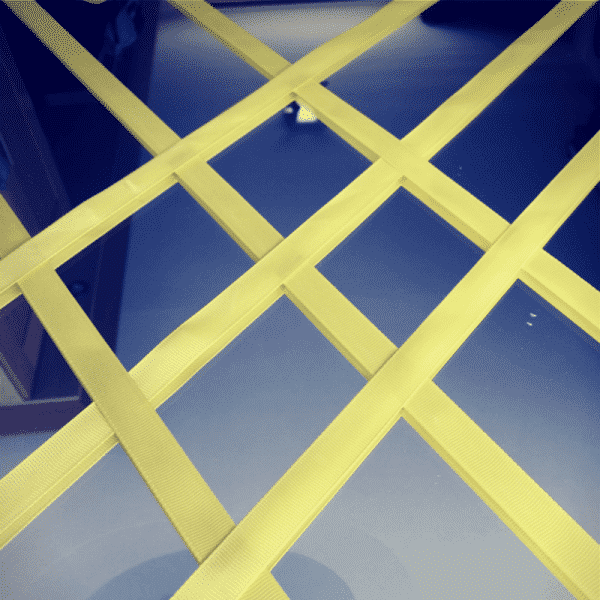
- gross-grain ribbon (10mm/0.5″ width) in your choice of wedding colour
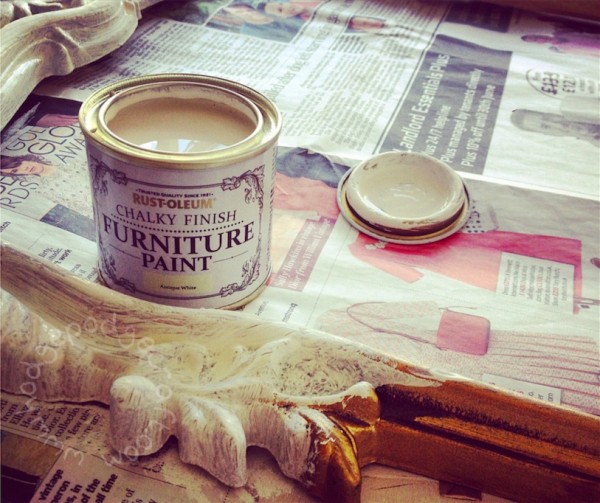
- chalk-finish paint (I used classic antique white, but you could choose a brighter colour if it would work with your wedding theme)
- a clean medium sized paint brush
- masking tape
- mini-pegs
- photos of the happy couple!
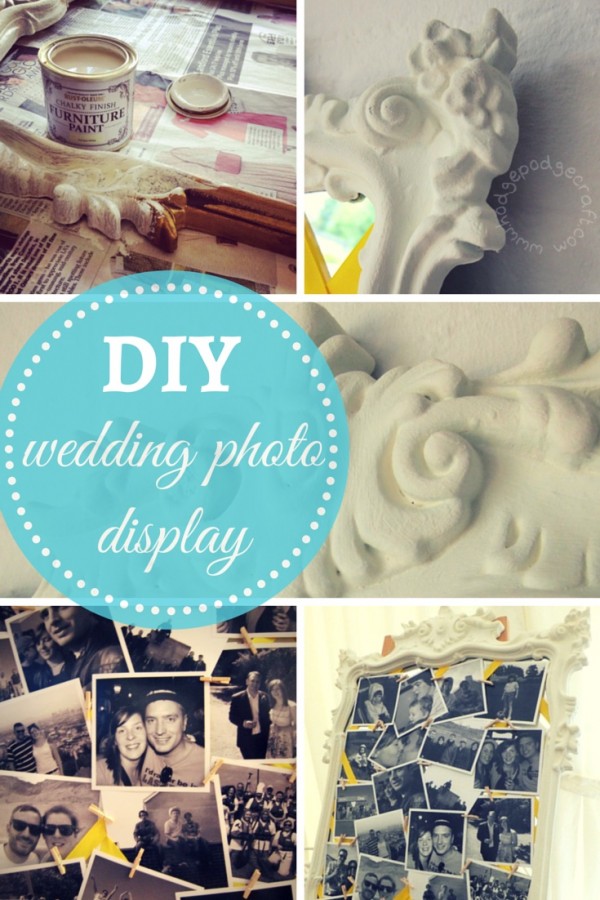
How to make this photo display frame DIY wedding idea:
- Remove the mirror from the frame (ours just unscrewed at the back).
- Clean the frame thoroughly and if necessary sand and vacuum any dust from it.
- Paint the frame using chalky finish paint. You may need to do 2 or 3 layers, leaving 12 hours between each coat (of course, if you already like it, don’t bother painting the frame! This was a horrid faux-gold, so I HAD to paint it)
- Clean the mirror if needed, then use your ribbon to make an inter-weaving criss-cross pattern over the mirror (see pic below – like you would use for a noticeboard), fixing the ribbon in place at the back of the mirror with masking tape.
- Carefully replace the mirror within its frame. This should be a snug fit, as this will prevent your ribbons from coming loose or moving. Secure the mirror in place.
- Using mini-pegs, clip and tuck photos* of the couple onto the ribbons.
- At the end you shouldn’t see much of the ribbon, as it will be mostly covered with photos.
- You may want to leave the photo arrangement until you are at the wedding venue, so that you can do it in-situ, however I transported this with the display already done and it arrived in one piece, needing only minor tweaking!
*I sourced the photos secretly from friends and family in advance and had them printed in black and white in a square polaroid style, which I think helped them look consistent despite being of varying quality and era! It also means your photo colours don’t clash with your chosen wedding colours.


")


This is so clever. What a great gift. It’s fab that they could change the pictures to mark special events #pintorials
Thanks Louisa! Yes, I totally agree, it’s great to be able to mix up the display and update it with future pets/kids etc 😉
What a great idea to upcycled a mirror photo. They look so gorgeous! I think you make a right choice to paint it white than left it gold. #pintorials
Thanks Eileen. I do like (real) gold, but am not a fan of the obviously fake stuff..!
Pingback: Hodge Podge / Crafts for Thanksgiving
Pingback: Hodge Podge / 10 fun farm animal crafts for kids